Don’t Ignore Your Garden Deck’s Foundation — Make it Last Longer
/The foundation of anything matters, yet it can easily be overlooked, especially if it’s not in plain sight. We often think of the aesthetics of a garden deck and staying on trend, which, of course, is important. But what lies beneath the deck boards can literally make or break a deck. As songwriter David Allan Coe once wrote, “It is not the beauty of a building you should look at; it’s the construction of the foundation that will stand the test of time.”
Thus, how you build and protect your deck’s foundation should be of great importance. In this blog we examine how little add-ons such as flashing tape and ongoing maintenance with cleaning and sealing can make a difference.
Here are three steps to a longer-lasting deck…
1. Protect the foundation from the start
Did you know that your deck’s wood joist and beams — unless protected and preserved — can begin to rot in as little as 8 years? The main threat is water damage.
While we can see the elements’ effects on a deck’s wooden boards and rails, we may miss the toll being taken on the beams, joists and ledger board that make up the foundation. When the foundation gets repeatedly wet (especially if the water remains), it can break down the fibers. Worst case scenario: deck collapse.

Credit: iStock.
How does moisture exposure occur? Simply, rain and snow seeps between the deck boards onto the wood that holds them up, what we’ve been referring to as the deck’s foundation. Additionally, water may also enter through screw holes that are not properly sealed. Once water gets into these spaces, it can cause rot and rust. Damage can occur even faster in humid climates.
An important way to protect your deck before you even install the deck boards is to cover the foundation with a quality butyl flashing tape. This rubbery tape is durable and easy to apply. Often, it is applied as a cap to horizontal and vertical surfaces, allowing the wood to breathe.

Credit: iStock.
The ledger board — where your deck attaches to your home — is another spot to cover in flashing. Wall flash can keep water out of any gaps between the deck and house.
Wall flash and flashing tape should be installed at the time of construction.
2. Keep the deck surface clean
Once the deck is built, what else can be done to protect the foundation? One of the simplest but most essential steps you can take is to keep it clean. When you regularly clean off debris that can trap moisture on your wood, you help prevent rot. Leaves and other vegetation are especially problematic.
What’s the best way to clean a deck? You may be tempted to use a power washer, but often the pressure can split and crack your deck boards. Even composite boards can be chipped when exposed to high pressure. If you feel you must use a power washer, keep the nozzle at least two feet off the ground, use a fan tip attachment and rinse thoroughly.

Credit: iStock.
A better approach to deck cleaning is to wash it the old fashioned way — with a brush, soap and water. Here are a few tips for cleaning off the deck surface:
Take off any furniture.
Sweep away dirt or leaves.
Make sure the soap doesn’t damage your boards. Begin by testing your cleaner on a small area.
Once you know your cleaner won’t do damage, use it with a brush and water.
Be sure to rinse off completely to avoid leaving a film.
Once the deck is dry, move furniture back into place.

3. Seal the deck boards regularly
Sealing a wood deck every one to three years is the best way to keep your foundation strong. If you’ve just cleaned your deck, it may be a good time to seal. Of course, let the deck get completely dry before sealing. Note: Composite decks, which are made of wood fibers, plastic and a binding agent, do not need to be sealed.
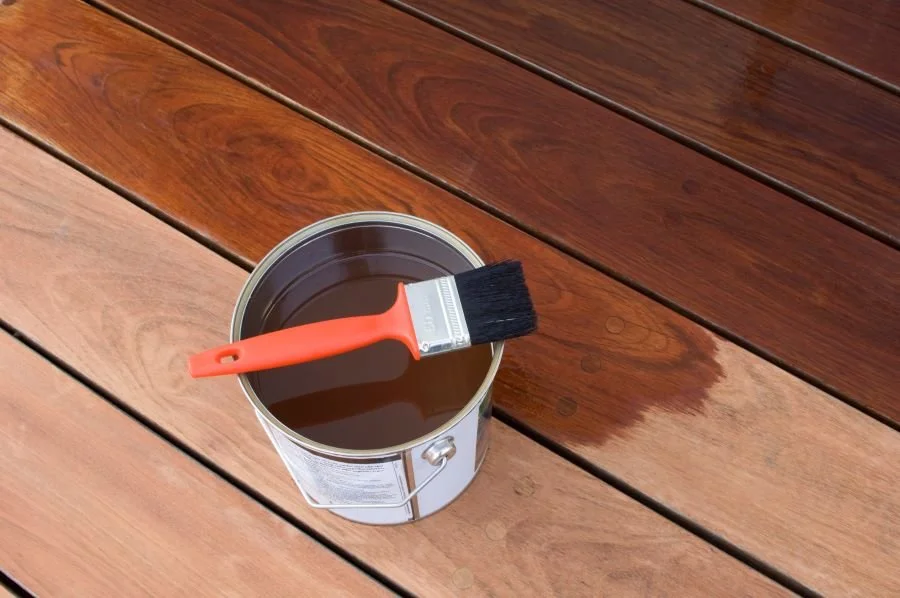
A sealant will not only keep your wood looking beautiful, but it will help prevent fungus and mildew growth. Use a deck preservative — a deck sealer or stain with clear sealer to cover and protect those top boards. A sealant is usually clear, while stain colours your wood and gives it a richer look.
If you’ve not sealed a deck before, use this step-by-step guide from Decks.com. Here’s a quick overview:
Prep. Wait until you have temperatures between 50 and 90 °F to ensure the best seal.
Clean. We’ve already covered this above!
Sand. A good sanding helps the sealer adequately penetrate the wood. Sweep away any sawdust — you may even need to hose it down again. Check between the boards to be sure they are dust free.
Stir. Stir, don’t shake the sealer, which can create bubbles.
Seal. Use a brush, paint roller, or sprayer to apply a thin coat over a two-to-three-board section. You’ll likely need to apply more than one coat.
Dry. Once dry, move back the furniture.
Protecting the wood in your deck is easier than you think. With a little time and intention, your deck will last for many seasons to come!
These steps, protect, clean and seal, will help protect your deck’s foundation. You made an investment when you decided to build a deck. Protect that investment so you can enjoy your outdoor living space longer!
Disclosure: This is a collaborative post.